Thursday, 30 December 2010

Handmade decorations


I know I am coming a little late with these, but as I was gifting them to my mom for Christmas, I couldn't show them earlier.  They are just simple designs cross-stitched on Aïda and backed with red cotton, but they make fancy decorations.  The designs come from an old Christmas edition of Marianne magazine. 


Best wishes for the New Year!

Sylvie

Monday, 27 December 2010

The Final Cut

Remember my quilt top?  I finished it in August and four months later it still is just that.  A quilt top.  


I received a few weeks ago the fabric that I'll use as backing, pictured above, right, and seriously, I can't believe that it took me all these months to finally make a decision about this backing fabric.  I have been so fussy about it, and it could have kept going on, the hesitation, the constant "what if I find something better".

The only reason why I decided to buy this fabric now is that the store was down to 4 1/2 yards and I needed four.  I got scared that they would sell out and I'd be back to my starting point of having no idea what fabric to use.  Because this Valori Wells Del Hi Pom Pom was the only remaining option on my list.

I am still not convinced that it is the best match to my quilt top, but at least the fabric is gorgeous and bold enough to get some attention.

My plan when I received the fabric was to baste the quilt over that weekend and have it ready for hand quilting during the holidays.  However, as I write these lines, the fabric is still waiting, unwashed and uncut.

For my defense, I was working on Christmas presents at the time, and they had to be finished before the quilt.

Sunday, 19 December 2010

Fabric Basket Tutorial

Here is - finally! - a tutorial for my little FQ fabric basket.  The incredible response I've had to my giveaway has given me the small push I needed to sit down and write it.  So here it is, hopefully clear enough to be understood, but if anything is missing, please let me know and I will try to clarify.

FQ FABRIC BASKET TUTORIAL


Material needed:
Coordinated fabric scraps (fat eights work well for the sides)
Thin polyester batting (cotton and bamboo are not stiff enough)
Non-woven, heavy weight sew-on interfacing
Two yards of ribbon
Matching or contrasting thread
Vanishing-ink fabric marker
Plastic Ruler
Hand-sewing needle
Scissors
Rotary cutter (optional)
Cutting mat (optional)
Sewing machine (optional)

Cutting List:

From the outside fabric (here the black and green fabric)
2 pieces of 13" X 4" for long sides
2 pieces of 51/2" X 4" for short ends

From the inside fabric (here the green dots)
2 pieces of 13" X 4" for long sides
2 pieces of 51/2" X 4" for short ends

From the bottom fabric (here the floral)
2 pieces of 13" X 51/2"

From the batting:
2 pieces of 13" X 4"
2 pieces of 51/2" X 4"
1 piece of 13" X 51/2"

From the interfacing:
2 pieces of 13" X 4"
2 pieces of 51/2" X 4"
1 piece of 13" X 51/2"

From the ribbon:
8 pieces of 7" long


Once you have chosen your fabrics, iron each piece and cut according to cutting list above.  I have used two coordinated fat eights for the sides, but any scraps will do.  It would even be fun to have all different sides.

What you choose to use as batting and interfacing will determine the sturdiness of your basket.  I wanted a clean look, but I don't plan on moving this basket around much, sot extra sturdiness was not necessary.  I have tried different combinations and this light batting with the thick interfacing is what gave me the most satisfying result.  However, if you need something sturdier, inserting plastic canvas might be a better option.  In that case, you would need to leave larger openings when you sew around each side.

Step-by-step how-to


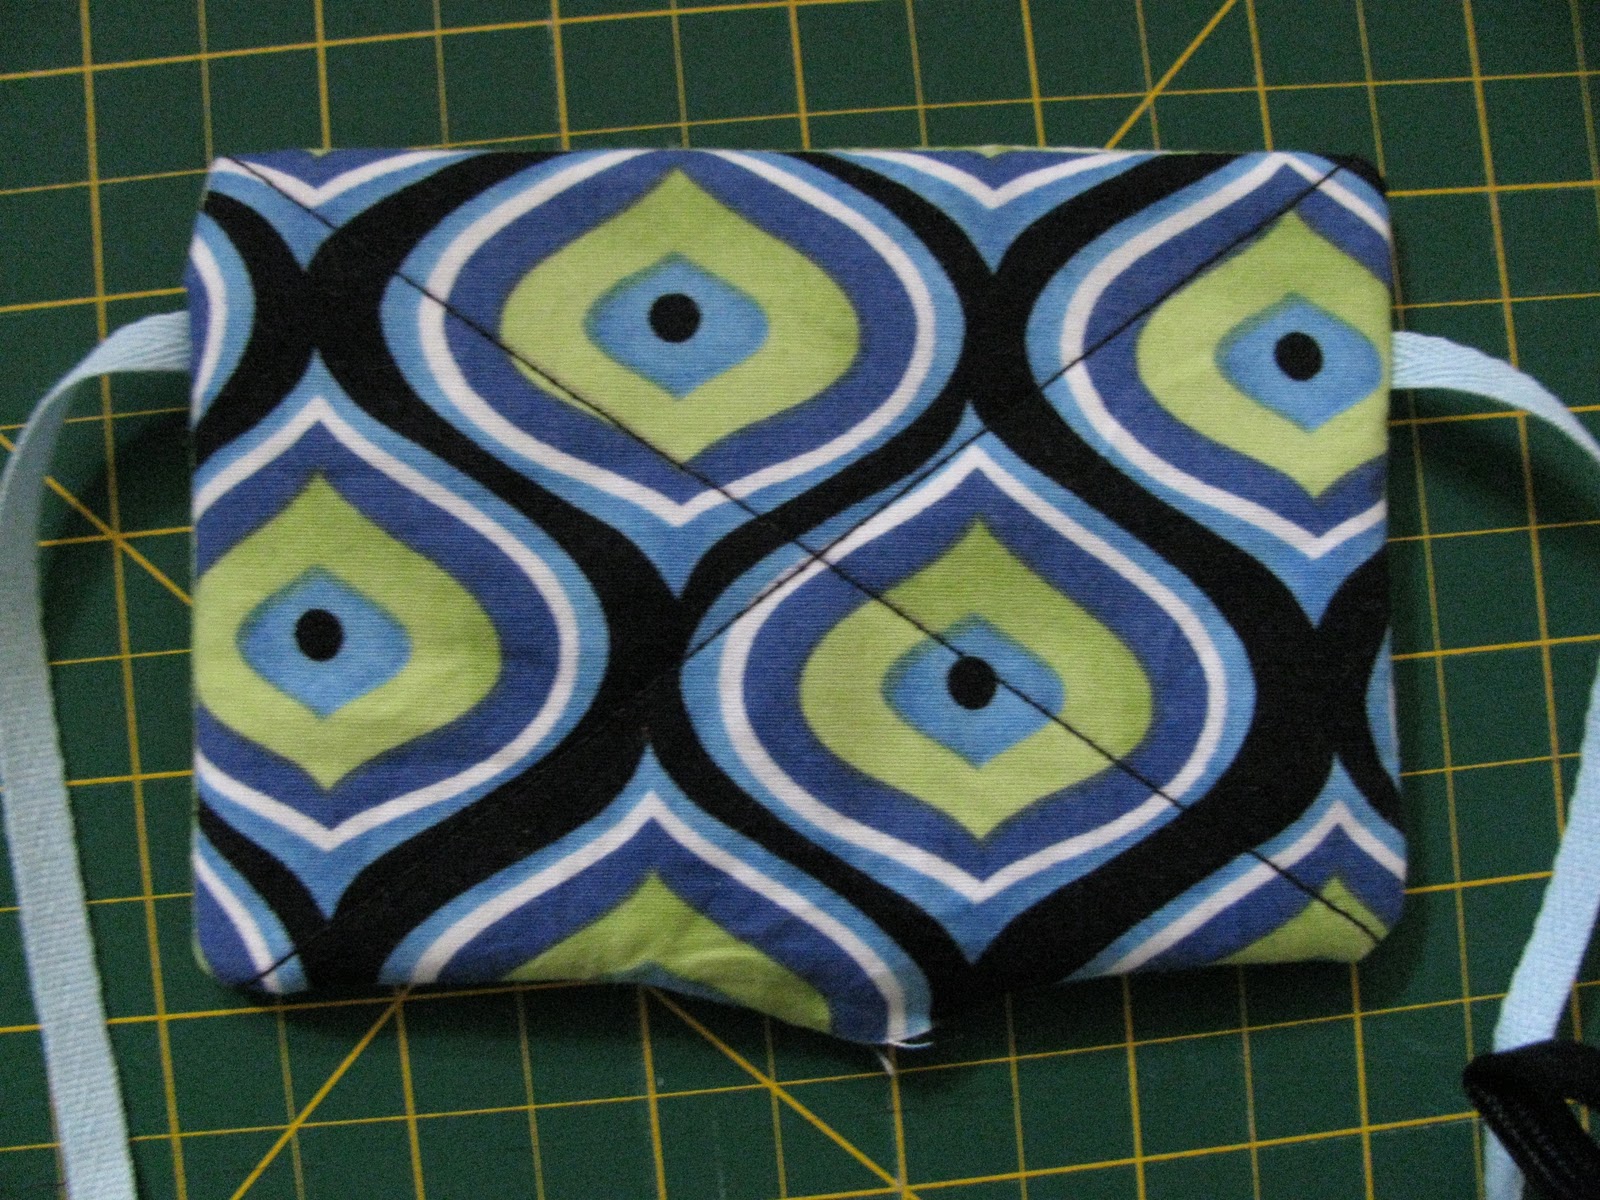
1.  As we have four layers for each four sides of the basket (inside fabric, batting, interfacing and outside fabric), we will quilt three of them together to give stability and add a little interest.  The quilting may be done differently than what I do, a simple cross pattern, but from experience I would recommend to avoid vertical or horizontal lines as they make a bend in the side of the basket and make it lose its shape.  So, this being said, take a small piece of the outside fabric, and using a ruler and a fabric marker, trace an X from corner to corner.  Repeat for the other small piece of outside fabric.  For the two long pieces of outside fabric, trace two Xs, from corner to middle of long side.


2.  Now what you need to do is a “sandwich” with one piece of batting, one piece of interfacing, and one piece of outside fabric on top, right side facing up.


3.  Quilt the three layers on the X that you have marked, either by machine or by hand.  Repeat for the three other sides.

4.  Now is time to add the inside fabric and the ribbons to the “sandwich”.  Place a quilted piece of outside fabric on your work table, outside fabric facing up.  Position two pieces of ribbon, one on either side, at 1” from the top.

5.  Then, lay the inside fabric over, wrong side facing up, and pin everything in place, making sure that the loose ends of ribbons will not get caught in the seam.


6.  Sew around the “sandwich”, leaving a 2” opening on the bottom side, i.e. the long side farther from the ribbons.  Clip corners.


7.  Turn right side out and repeat for all three other sides, and for the bottom part, omitting the ribbons on this last one.


8.  Iron flat all pieces and hand sew the openings.

9.  Now is time to assemble the sides to the bottom of the basket.  Place the bottom on your work table, inside up ( I chose the quilted side to be inside the basket, but you could choose otherwise, it won’t make much of a difference).  Take one side of your basket and lay it on the bottom piece, outside up, aligning the bottom sides of both pieces.  Pin in place.  Hand sew both pieces together.


10.  Repeat for other three sides.

11.  Tie the ribbons in the corners and you have a finished basket!

Saturday, 18 December 2010

Giveaway Winners


Oh, this was a fun giveaway day, or should I say week?  I've enjoyed reading comments and I am thrilled to have had 300 entries, plus a bunch of new followers.  Welcome to all of you new readers.

Many commenters have requested a tutorial for my fabric basket, and that was just what I needed to convince me of doing one.  So check back in the next few days and I will have it posted right here.

Now, to the winners - 'cause really that's the reason you're here today, right?

Names were picked at random, with the help of my boyfriend, and the lucky ones are:

Carol, who won the ready-made basket

and

Kerry , who won the kit.

Congratulations to the winners and thanks to all who entered!  Stay tuned for the basket tutorial!

Sylvie

Sunday, 12 December 2010

It's Giveaway Day!

Thanks to Sew, Mama, Sew, Giveaway Day is back, and I wouldn't want to miss it, so I have prepared a little something to offer.

A while ago, I came up with a simple basket designed to store fat quarters.  I wanted to write a tutorial for this, but being the big procrastinator that I am, I never did.  However, I still want to share my little baskets with others, so I thought this giveaway might be a good opportunity to do so.

I will have two prizes:  one is the basket below, all sewed and ready to receive your fat quarters (or anything else you might want to store in it, it is up to you).


The other prize is a kit to sew your own basket, including all fabric pieces, batting and interfacing, as well as ribbon for the ties and a simple how-to.


If you want to enter my giveaway, here are the rules, which I have tried to keep as simple as possible:
  • Leave a comment on this post and let me know whether you want to be entered for the already-made basket or for the kit, or for the two of them.  If you don't mention which you want, I will assume you are in for both. 
  • Make sure I have a way to contact you.  If your profile is set up as no-reply, make sure you give your e-mail address in your comment.
  • Giveaway is open until Friday, December 17, midnight EST.
  • I will ship internationally, so everyone is welcome to enter.
  • Winners will be selected at random and will be annonced next weekend.
Best of luck to everyone!  

Sylvie

Sunday, 28 November 2010

Winter crafting


I know I have been silent for a long time, and I am sorry about it. I have been quite busy crafting and there wasn't much I could show here because most of the projects I have been working on are to be gifted at Christmas, and I don't want to spoil the surprise.

A few weeks ago, I took out my Sculpey clay and made the figurines above.  I was in the mood for small things I guess, the little bird is just over 1 cm long!  It wasn't easy to paint such small things, but don't they look pretty sitting in front of their paper house?


 While at it, I also made this set of mushroom buttons, and the little lady below, just for fun.


And now, I'll be going back to my Christmas crafting, I have a little project going on with these fabric remnants from last year.


Have a great week!
Sylvie

Wednesday, 3 November 2010

Goodies in the mail


See how happy they all look?  But not as happy as I was when I opened the package from Blushful.  A few weeks ago, tired of fighting with my tangled embroidery threads, I went on a search on Etsy to find some cute thread cards, and came across these.


They were by far the cutest I'd ever seen, and I ordered a pack of 20.  Now, they look even better in real, and I've had fun selecting one mushroom for each color thread.  But where it gets really cool is that because I was her first Etsy customer ever, Annie was overly generous and sent along some more gorgeous handmade goodies:


A cute little pink haired girl, made out of a wooden spool and dressed in pompom trim.


 And this felt beauty, hiding decorative pins in her hair.

I feel very lucky to have received all these nice gifts.  Hop on over to Blushful if you want to see more of Annie's work, she's got the cutest pincushions!